As the air chills and autumn leaves begin to crisp, a familiar excitement bubbles up: Halloween! It's a time for costumes, haunted houses, and, of course, delightfully spooky treats. While elaborate Halloween baking can sometimes feel like a monstrous task, there's one ghoulishly good snack that promises maximum creepiness with minimum effort: homemade witch finger pretzels. Perfect for little goblins and grown-up ghouls alike, these eerie edibles are not just a feast for the eyes but a simple, no-bake activity that will have everyone cackling with delight.
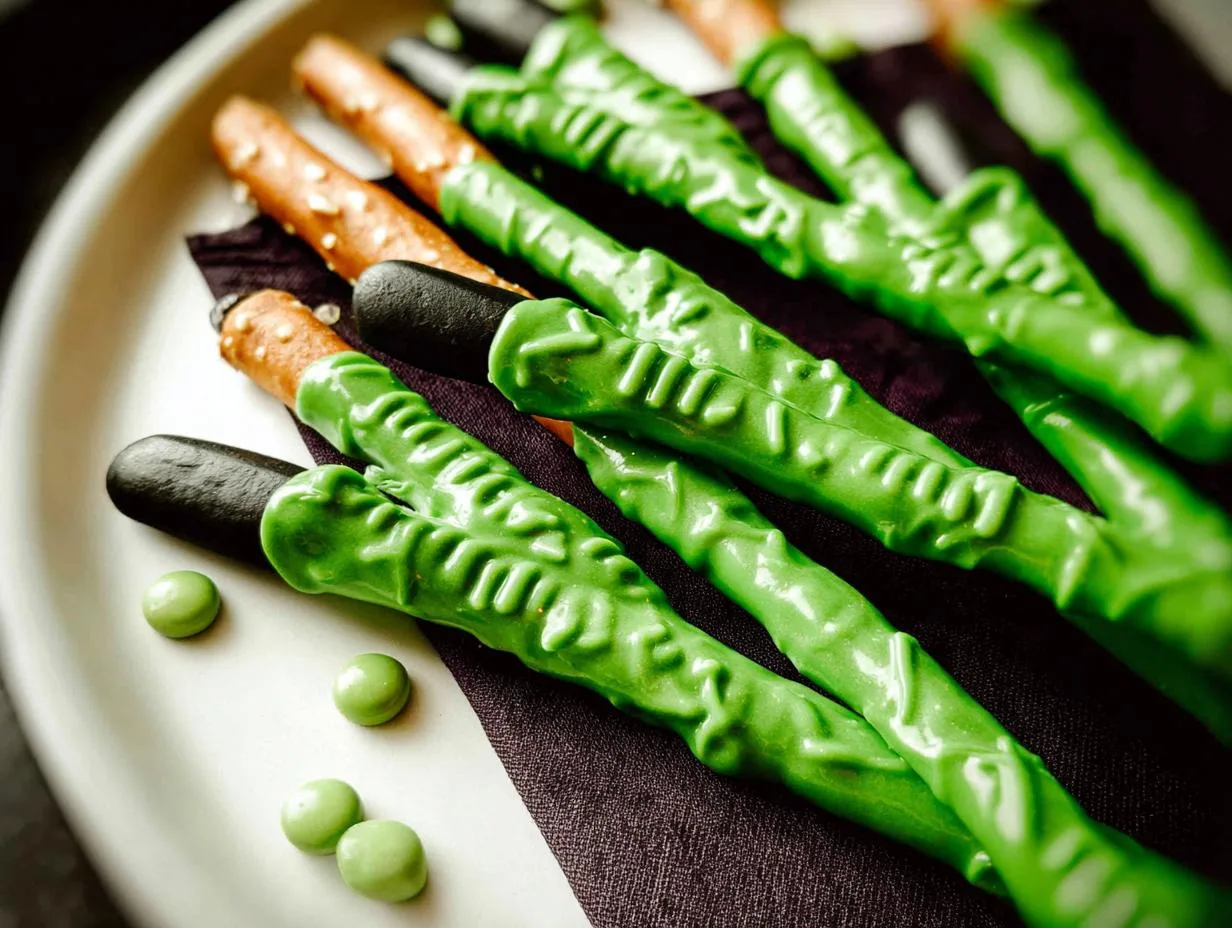
Imagine long, gnarled green fingers, complete with unsettlingly pointy black fingernails, beckoning from a snack platter. They look like they've just clawed their way out of a witch's cauldron, yet they're made from everyday ingredients and come together in minutes. Last year, our family conjured up a batch of these easy no-bake witch finger pretzels for a neighborhood Halloween bash, and they vanished faster than a ghost in a graveyard. The sheer "eww" factor combined with the satisfying crunch of a pretzel rod makes them an undeniable hit. Get ready to transform your kitchen into a mad scientist's lab and create some unforgettable Halloween magic!
Why Witch Finger Pretzels Are Your Halloween Secret Weapon
Halloween prep can often feel like a juggling act between costumes, decorations, and wrangling sugar-crazed children. That's where these amazing witch finger pretzels swoop in to save the day, offering a unique blend of fun, simplicity, and undeniable charm. They're more than just a treat; they're an experience. Here’s why they should be at the top of your Halloween to-do list:
- No-Bake Magic: Forget preheating ovens, measuring flour, or dealing with sticky dough. The beauty of witch finger pretzels lies in their no-bake nature. It's all about melting, dipping, and decorating, which translates to less stress for you and more immediate gratification for hungry trick-or-treaters. This also makes them a fantastic choice for classrooms or parties where oven access might be limited.
- Kid-Approved Creepy: Children are naturally drawn to anything a little bit gross and spooky, and these pretzels deliver on that front spectacularly. The idea of eating a "witch's finger" sends them into fits of giggles and delighted squeals. Best of all, even the youngest helpers can participate in the fun, whether it's pressing on the almond "nails" or arranging the finished fingers on a serving platter. It's a fantastic way to engage them in the kitchen and foster their creativity without the pressure of precision baking.
- Party Superstar: If you're hosting a monster mash, a pumpkin carving party, or just a spooky movie night, these pretzels are guaranteed to be the star attraction. Their striking visual appeal ensures they stand out on any Halloween spread. For an extra touch of drama, try arranging them on a dark platter with some dry ice (handled carefully, of course!) for a truly eerie, smoking cauldron effect. They consistently disappear first at our gatherings, testament to their universal appeal.
- Foolproof Fun: One of the best aspects of making witch finger pretzels is that perfection is absolutely not required. In fact, the more lumpy, bumpy, and imperfect your candy coating, the more authentically "gnarly" and delightfully gross your witch fingers will look! This low-pressure approach makes it an enjoyable activity for everyone, regardless of their crafting or baking skill level.
Gather Your Ghoulish Goodies: Ingredients for Creepy Perfection
One of the many charms of this recipe is its minimal ingredient list. You won't need an arcane tome or rare potions, just a few accessible items that transform into something wonderfully wicked. Precision is key, especially with the candy melts, as I've learned from past sticky-fingered experiments!
- 12 Large Pretzel Rods (about 7-8 inches long): These form the "bones" of our witch fingers. Look for sturdy, uniform rods that won't easily break when dipped. They provide the perfect canvas for our creepy creation, offering a satisfying salty crunch that balances the sweetness of the candy melts.
- 6 Ounces (170g) Green Candy Melts: This is the star ingredient for the "sickly skin" tone. Green candy melts are specifically designed for melting and coating, offering a smooth, even finish. You can find them in the baking aisle of most craft stores or large supermarkets. While white chocolate tinted with food coloring *can* work, candy melts are much easier to work with, yielding a vibrant color and consistent texture without seizing.
- 2 Ounces (57g) Black Candy Melts: For those menacing "fingernails." Black candy melts provide a stark contrast and add to the overall spooky aesthetic. Again, opting for melts over colored frosting or regular chocolate ensures a crisp, defined nail.
- 12 Slivered Almonds: These are the quintessential "witch nails." Look for the most pointed, irregular slivered almonds you can find to enhance the gnarled, creepy effect. If you can't find slivered almonds, whole blanched almonds can be cut or broken to create jagged edges, or you could even use pumpkin seeds for a different look.
- Optional: Red Gel Icing or Edible Food Pen: For adding gruesome details like "blood" around the nails or drawing on "knuckles." This is where you can really elevate the creepiness factor.
Crafting Your Creepy Concoctions: Step-by-Step Guide
Now that you've gathered your ingredients, it's time to unleash your inner mad scientist! This process is straightforward, but a few tips will ensure your witch finger pretzels come out looking perfectly petrifying.
Preparing the Horrifying Fingernails
First things first, let's get those eerie fingernails ready. This step requires a little patience but is crucial for the final horrifying effect.
- Melt the Black Candy Melts: Place your black candy melts in a microwave-safe bowl. Heat them in 20-second bursts, stirring thoroughly after each interval. Candy melts can seize if overheated, so go slowly until the mixture is completely smooth and free of lumps. Alternatively, you can use a double boiler method for more gentle, controlled melting.
- Dip the Almond Nails: This is where the magic happens. Using tweezers or a toothpick, carefully dip each slivered almond completely into the melted black candy. Ensure it's fully coated. Lift it out, allowing any excess to drip off briefly.
- Harden the Nails: Lay the dipped almonds on a piece of parchment paper or a silicone mat. Allow them to harden completely at room temperature, which typically takes about 15-20 minutes. If you're in a hurry, you can pop them into the refrigerator for 5-10 minutes, but ensure they don't get too cold, as this can cause condensation later. Resist the urge to rush this step – smudged nails just aren't as menacing!
Dipping into Gruesome Green
With your black nails set, it's time to give our pretzel rods their sickeningly green skin.
- Melt the Green Candy Melts: Just like with the black melts, place your green candy melts in a microwave-safe bowl. Heat in 20-30 second intervals, stirring well after each, until smooth and creamy. If the mixture seems too thick, you can add a tiny bit of shortening (like Crisco) or a specialized candy melt thinning agent, stirring until it reaches a dippable consistency.
- Dip the Pretzel Rods: Hold a pretzel rod by one end. Dip about two-thirds of the rod into the melted green candy, rotating it to ensure an even coat. Gently tap the rod against the side of the bowl to remove any excess candy. You want a good, thick coating that will look like skin, but not so much that it's dripping excessively.
- Create Knuckles: As you lift the pretzel rod, use a spoon or another clean pretzel rod to create some "wrinkles" or "knuckles" in the green candy coating near the middle of the dipped section. This adds to the gnarly, realistic finger effect.
- Attach the Fingernail: Immediately after dipping and creating the knuckles (while the green candy is still wet and warm), gently press one of your hardened black almond nails onto the very tip of the green-coated pretzel rod. Make sure it's firmly attached and aligned like a menacing fingernail.
- Set to Harden: Place the finished witch finger pretzels on a sheet of parchment paper or a silicone mat to allow the candy coating to fully set. Again, this can take 20-30 minutes at room temperature, or you can refrigerate them for 10-15 minutes for faster hardening.
Adding Gory Details (Optional but Recommended)
To really push the creepy factor, consider adding some final touches. This step transforms your witch fingers from merely green to truly gruesome!
- Bloody Cuticles: Once the green candy and black nails are completely set, use red gel icing (the kind in a tube with a fine tip) to draw a thin line around the base of the almond nail. This creates the illusion of a freshly plucked finger, complete with a gory "cuticle." You can also add a small "drip" of red icing down the side of the finger for extra drama.
- Veins and Wrinkles: For more realism, use a food-safe edible marker (in black or dark purple) to draw thin, squiggly lines on the green "skin" to mimic veins or additional wrinkles.
Tips for Spooktacular Success and Presentation
Making witch finger pretzels is relatively simple, but a few expert tips can elevate your spooky treats from good to gloriously gross. For even more detailed guidance, be sure to check out The Ultimate Halloween Party Snack: Simple Witch Finger Pretzels Recipe.
Troubleshooting Common Issues
- Lumpy Candy Melts: If your candy melts become lumpy or too thick, try adding a small amount (1/2 teaspoon at a time) of vegetable shortening or coconut oil, stirring well after each addition until smooth. Avoid adding water, as it will cause the melts to seize.
- Slipping Almonds: Ensure your green candy coating is warm enough to allow the almond to adhere, but not so hot that it slides off. If it's too cool, you can dab a tiny bit of fresh melted green candy on the back of the almond before pressing.
- Uneven Coating: The key is to work quickly and tap off excess candy. Don't worry if it's not perfectly smooth; those imperfections often add to the "witchy" charm!
Creative Presentation Ideas
- The Cauldron Display: Arrange your finished witch finger pretzels in a large bowl or cauldron, perhaps nestled amongst some fake spiderwebs or plastic spiders. For an unforgettable effect, place a smaller bowl of dry ice (with hot water) underneath the main bowl, creating a mystical, smoking display (ensure dry ice is not accessible to hands or mouths).
- Graveyard Platter: Use a dark-colored serving platter. Crumble some Oreo cookies (without the cream) to create "dirt" and arrange the witch fingers sticking out as if they're crawling from graves.
- Bundles of Bones: Tie small bundles of 2-3 witch finger pretzels together with black or orange ribbon for individual party favors.
Storage Suggestions
Once your witch finger pretzels are completely set, store them in an airtight container at room temperature. They will remain fresh and crunchy for up to a week. Avoid refrigeration if possible, as it can sometimes cause condensation to form on the candy melts, affecting their appearance. However, if your home is particularly warm, a short stint in the fridge won't hurt, just be sure to let them come to room temperature before serving to prevent sweating.
Making witch finger pretzels is more than just a recipe; it's an annual Halloween tradition in many homes, including ours. It’s a chance to get creative, embrace the delightfully macabre side of the holiday, and make memories with loved ones. These eerie treats are a testament to the fact that spooky fun doesn’t have to be complicated. So, gather your crew, melt those candy melts, and prepare to conjure up a batch of treats that will thrill and chill everyone who dares to take a bite!
